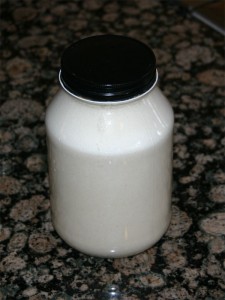
Parsley, Peach, Pear Smoothie

The thing that makes this smoothie outstanding is the sesame milk base. Sesame milk is so easy to make and it adds a bitter sweet full bodied texture to the smoothie that doesn’t happen if you simply use water. If you’ve never made sesame milk before, you can read about it in a previous posting here.

I guess the other part I like is the garden fresh parsley! Yes, out of all the greens that I blend up into breakfast food, parsley is my favorite. But it’s not spinach! Everyone loves spinach. Parsley takes a little warming up too, if you know what I mean. Its flavor is much stronger and, if you get the standard curly parsley at the store, it always leaves your mouth feeling like it’s eaten something a little too strong.

That doesn’t happen with this garden parsley. It’s fresh and smooth tasting. Every time I visit the garden, I can’t help but pinch off a couple leaves and chomp them down. I get no negative reaction and my breath is left parsley fresh!

If I could grow more parsley, I’d make it my green of choice.

Recipe:

  • 2 peaches
  • 3 little pears
  • 1 good size bunch parsley
  • 1 ½ cups sesame milk

Notice I didn’t need to add dates to this smoothie!  I LOVE it when the fruit really is ripe and sweet. It makes a huge difference on the resulting flavor of the smoothie. If I haven’t already said this enough – always use ripe fruit!

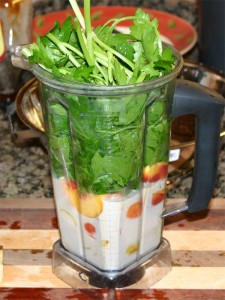
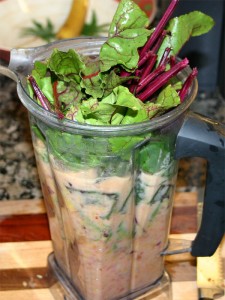
After I pack all the fruit in and press the greens down hard enough so that I can get the lid on the blender, it sure makes it look like I’ve used a lot of sesame milk.

And look at those parsley leaves!  Yum. This is the broad leaf Italian verity that grows a couple feet tall – but only in warm weather. The plants seem to go on hold if it’s not 70+ outside.

Parsley always turns out thick. You really have to add something like water to get it into a drink like consistency. But for me, I love them thick.

If you’ve never made a parsley smoothie, right now is the best time of year to give it a try. Let me know what you think afterwards.

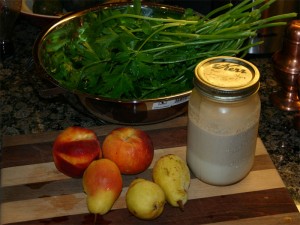
Peach, Watermelon, Beet greens Smoothie

I love it when I can harvest a half dozen beets the size of baseballs and get enough greens for two smoothies. I also love 24 lbs peaches for $7.50. What a screaming deal. The abundance this year looks to be peaches and beet greens.

Even through the base ingredients are the same, the smoothies don’t have to all taste the same day after day. In this case, the difference between this smoothie and the previous day’s smoothie is that I’m adding sesame milk to make it more like a milk shake.

Recipe:

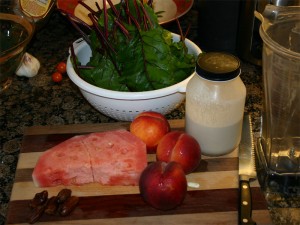
  • 3 peaches
  • 1 inch slice watermelon ½ way through the fruit (seedless)
  • 4 to 5 little dates
  • Big handful beat greens from the garden
  • 1 ½ cups sesame milk (with pulp)

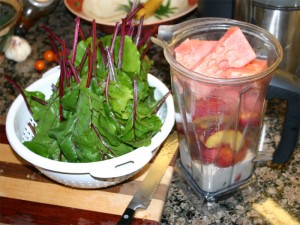
Combine all ingredients into the blender with the wettest items on the bottom.

Turns out that when putting this one together, I had to spin the fruit before adding the greens.

If you look closely, I like to spin the fruit just long enough to get it turning and then stop. The less you time you spend running the blender, the less heat you generate. Thus, I want to turn the greens for a minute so I spend as little time as possible getting the fruit to turn.

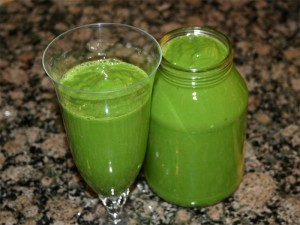
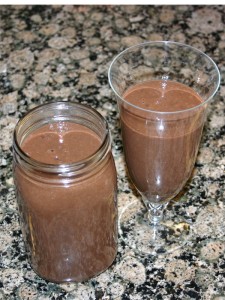
The end result, once again, looks a bit muddy. This is beets we’re talking about even if it’s just the tops!

When it really comes down to it, beet greens are really good for you. They have a metric butt ton of vitamin A and K along with Potassium, Calcium and Magnesium. Even if the greens are not the ‘stored sunlight’, they are the chlorophyll factories. And as we’ve seen before (Is food another form of light?), the chlorophyll molecule is a great molecule to consume.

Sesame Milk

There’s just something about sesame milk that keeps me coming back for more. It’s a little bitter, but it could be because of the mineral content, calcium in particular. Did a quick Google search for nutritional information and found this. The Acid Alkaline charts show the dry seeds as being slightly alkaline, but as we’ve all learned sprouting seeds tips them heavily into the alkaline category!

Now the trick is to make them something that you want to ingest. I don’t really like sesame seeds dry. It takes too much work to chew. Try placing a spoonful of dry seeds in your mouth and see how long it takes to chew them up to the point where you can swallow! Soaked and sprouted seeds are totally different. Soak them for four to six hours before draining and letting sprout. The sprout time is about 24 to 36 hours. Past that, the seeds get really bitter and hard to eat no matter what you do to disguise the taste.

The best part about this milk is that it’s really easy to make if you have a high speed blender – which I have.

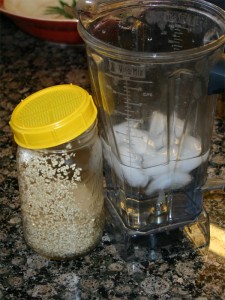
I’ve got a collection of mason jars for sprouting. The little sprout lids can be purchased at just about any natural food shop. They come in three different sizes, yellow being the smallest. Yellow works great for holding these little seeds at bay.

Ingredients:

  • 1 cup sprouted sesame seeds
  • About 1 cup ice cubes
  • About 3 cups water
  • 2 to 3 little dates
  • Little vanilla powder (doesn’t take much, like 1/8th teaspoon.)

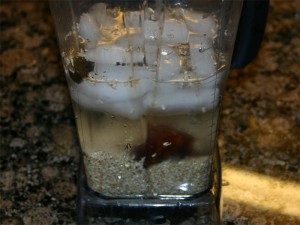
If you look closely at this second picture, you’ll notice that I snapped the fist picture before I’d added all the ingredients to the mixture.  Notice sitting just above the sesame seeds are the dates. On the very surface (in the upper left hand corner) is the vanilla powder.

Ultimately, this will all blend together and look like milk.

The main reason for the ice is to keep the mixture colder longer so you can blend it longer without heating the ‘milk’. If you don’t add ice and just use cold water, you’ll end up with warm milk that just seems… wrong.

It’s pretty important to add a couple dates to the drink for the seeds are pretty bitter and it takes a something a little sweet to balance it out.

I like my sesame milk with all the fiber. Others like to run it through a nut milk bag to remove all the hulls. Either way you make it, the best way to consume it is as the base for a green smoothie! Peaches and Sesame ‘cream’ makes for unique taste sensation. I highly recommend giving it a try.

I figured I’d do a little search for a video to add to this post. Found a really nice demonstration by Karen Knowler that I’d recommend watching if you’ve never made nut milk. The only change I’d make to what she shows is that she should be using soaked almonds rather than dry almonds. But here you go anyway, I’m sure you can make that little modification yourself.