This one tastes great and is just too easy to not share with the world. With just a little preparation, you can whip up some great tasting raw humus that will fill you up for lunch yet not make you feel like a nap is in order in just a few minutes. I like to call this my Sunflower Red Hummus.
The other day, I was pressed for time yet wanted this hummus. I’d already soaked the sunflower seeds and let them sprout overnight so they were ready. I looked at the clock and saw that I had fifteen minutes to prepare and cleanup before I had to run. Well, the total time was twenty minutes (including the quick cleanup) so I had to run really fast to make up that time!
Recipe:
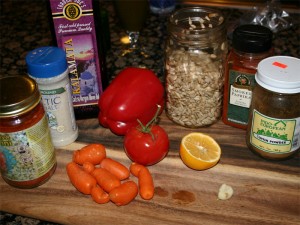
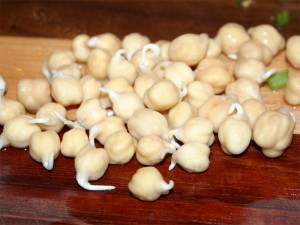
- 2 cups sprouted raw living sunflower seeds
- 1 sweet red, yellow or orange bell pepper
- 1 medium tomato
- 1 carrot (or a few small garden carrots that you just dug and cleaned up!)
- ½ a Myers lemon
- ½ clove raw garlic
- 2 tablespoons raw cold pressed olive oil
- 1 teaspoon cumin
- 1 teaspoon smoked paprika (or a little less)
- ¼ teaspoon salt
- ¼ teaspoon cyan pepper!
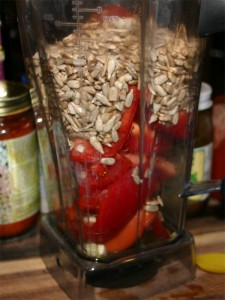
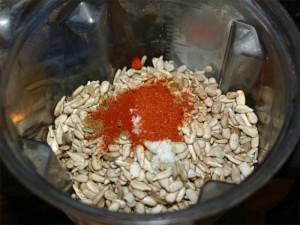
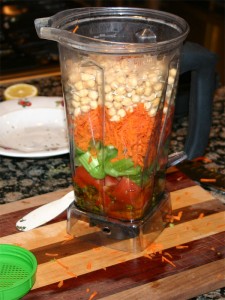
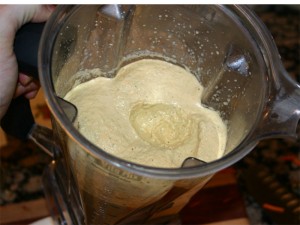
All the wet ingredients go in first. And, well, you probably already know this from the picture below, but you’re going to blend this in a high powered blender until it’s creamy and smooth. So, if you put the wet ingredients o the bottom, they bill break down quickly and create volume that will carry down the rest. You might need to help some of the seeds and be careful not to get the seasoning on your plunger (if you need to use one).
This is a pretty heavy mixture so you’ve got to have a heavy-duty blender in order to keep it from bogging down. But it will. It will also heat up pretty quickly so watch out for that. I usually start out just fast enough to get the fruit (veggies) to spin and then turn the blender up as high as it will go and still turn the contents of the blender. If you flip the machine all the way to high, it all just lifts up and, well, you’re no longer ‘blending’ at that point. 🙂
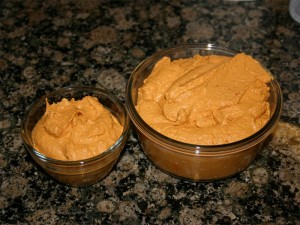
The little cup on the left is exactly 1 cup. I like to fill it ¾ the way and it’s just the right amount for lunch. The bigger container just happened to work with my time constraints for the other little containers needed washing!
Once prepared, it easily lasts for a few days in the fridge. You’ll see the top darken (oxidize), but the rest should stay just made fresh.
This one is so easy that it’s hard to get wrong. My only real advice is to go light on the garlic. The picture shows a whole clove. I cut it in half before adding it. Too much raw garlic tends to overpower the other subtle flavors that really make this hummus shine.
…
It’s been a long winter and just a couple days ago I started to notice the spring air. It blew in and within about 24 hours all the plants that had been waiting to bloom sprung into early spring pinks, yellows and greens. We’re well past the equinox, so it feels a month late. Whether it’s early or late, it’s still warmly welcomed!

